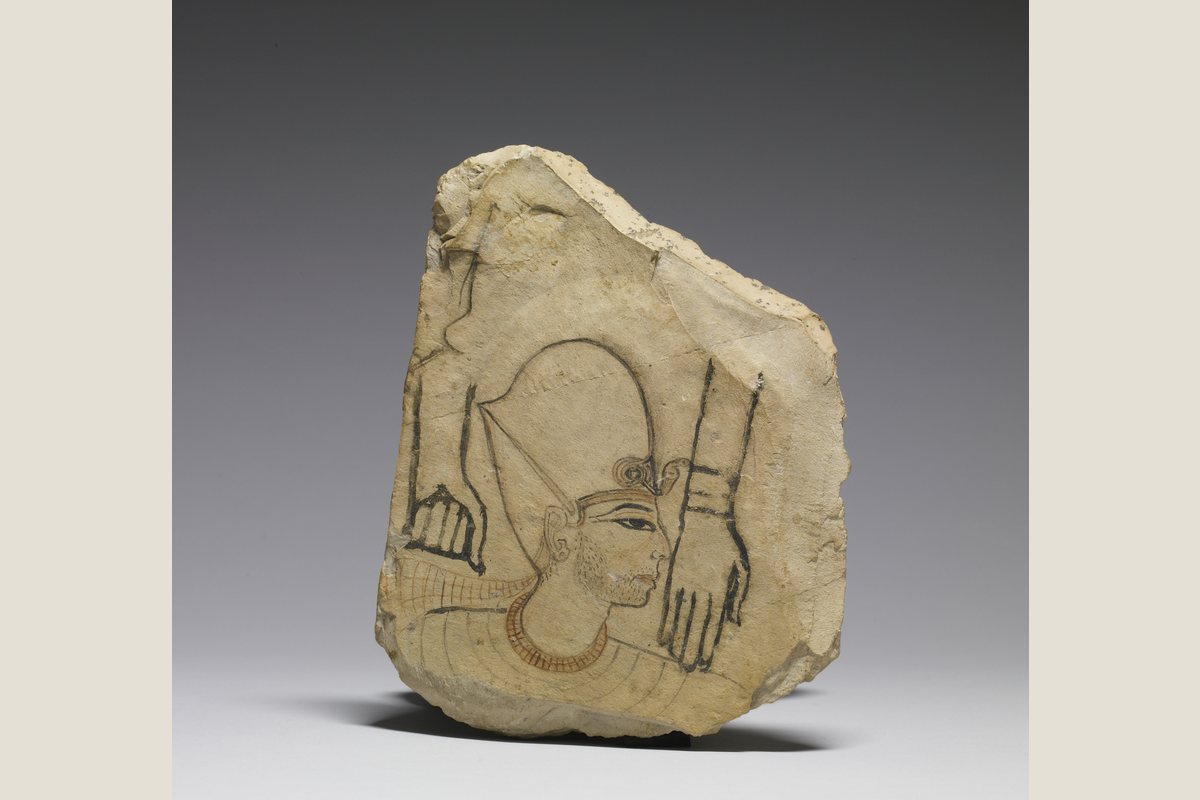
Museum looking often begins with a detail: a painted eye, drilled line, woven thread or corroded edge. Close attention is valuable, but magnification can make a tiny mark feel independent from the object that carries it. A responsible detail study moves in both directions. Zoom in to describe the trace, then zoom out to restore support, size, orientation, use and the display conditions that made it visible.
Record the whole before the crop
Write the object title, dimensions, material, inventory number and current orientation before photographing or sketching one area. Mark the detail’s position on a simple outline. This prevents a later close-up from becoming an unidentified image. A line near an edge, join or worn contact zone may mean something different from an identical-looking line at the centre of a protected surface.
Describe a mark before naming a tool
Begin with width, direction, repetition, depth, colour and relationship to nearby layers. A scratch can result from manufacture, use, burial, excavation, conservation or handling. Museum labels and technical research may identify the process, but appearance alone rarely proves a specific tool. Neutral description keeps several explanations available and makes your note useful even when the first interpretation changes.
Keep pixels separate from physical size
A collection photograph may show a small object larger than a monument on screen. Check the stated dimensions and any scale bar. Screen zoom improves access to line and texture but cannot reproduce weight, thickness, translucency or viewing distance. When saving a detail, include one uncropped institutional image or your permitted context photograph so scale can be recovered later.
Read the boundary
Details become especially informative where one material, colour or phase meets another. Look for a glaze edge, pigment layer, repaired tear, stone insert, sheet join or modern fill. Describe which layer crosses or stops at the boundary. Sequence can sometimes be inferred from overlap, yet microscopic or imaging study may be required. State the visible relationship without turning it automatically into a complete chronology.
Notice what lighting invents
Raking light can exaggerate relief; frontal light can flatten it; reflections can create bright lines that are not on the object. Move your viewpoint where permitted and compare more than one angle. Record case lighting in the note. A phone camera may sharpen, brighten or combine exposures, so its close-up is not a neutral technical record. Institutional imaging should be identified as a separate source.
Use damage without celebrating it
A break can expose body, thickness, grain or construction that a finished face conceals. That information matters, but damage is also loss and vulnerability. Never touch, point with an object or lean across a barrier to inspect it. Consult conservation documentation before assigning a cause. A fracture surface may record ancient breakage, burial pressure, excavation or a much later event.
Reconnect image and function
A painted head on an ostracon, for example, is not only a face. The support, reverse, edge, associated marks and find history help explain whether the piece was a study, note, reuse or fragment of another activity. Let iconography and material context answer different questions. The most recognizable detail should not erase the less dramatic physical evidence that locates it.
Write a two-scale caption
Sentence one describes the detail precisely. Sentence two states object dimensions, support, position and museum source. Add a final uncertainty if the cause or date of the mark is not secure. This compact form is strong enough for a field notebook and honest enough for later publication. It also prevents social sharing from presenting a magnified fragment as an entire object.
Exit the zoom deliberately
End by returning to the normal gallery view and writing what the detail changes about the whole object. If it does not alter construction, use, date, condition or interpretation, it may remain a beautiful observation rather than central evidence. This final step prevents magnification from creating importance automatically and keeps your research question proportional to the object.
Use published dimensions. Respect barriers. Separate present display, documented original setting and later digital enlargement.
Institutional sources reviewed 29 July 2026: Egyptian Museum ↗ · Digital Giza ↗. Displays and visitor conditions may change.